
Bitdefender is my favourite Anti-Virus I am not saying this as its is considered and rated as the best Antivirus by many firms but the ease of use, user interface and pretty much its awesome functionality makes it to top any list that states best Antivirus ever for PC and that makes it little bit expensive too from other but Bitdefender itself came up with a solution for this thing by introducing the Free Version that works pretty well as I am using it currently, it really consumes less space and performs well on any sort of PC specs, either low or high it doesn't matter.
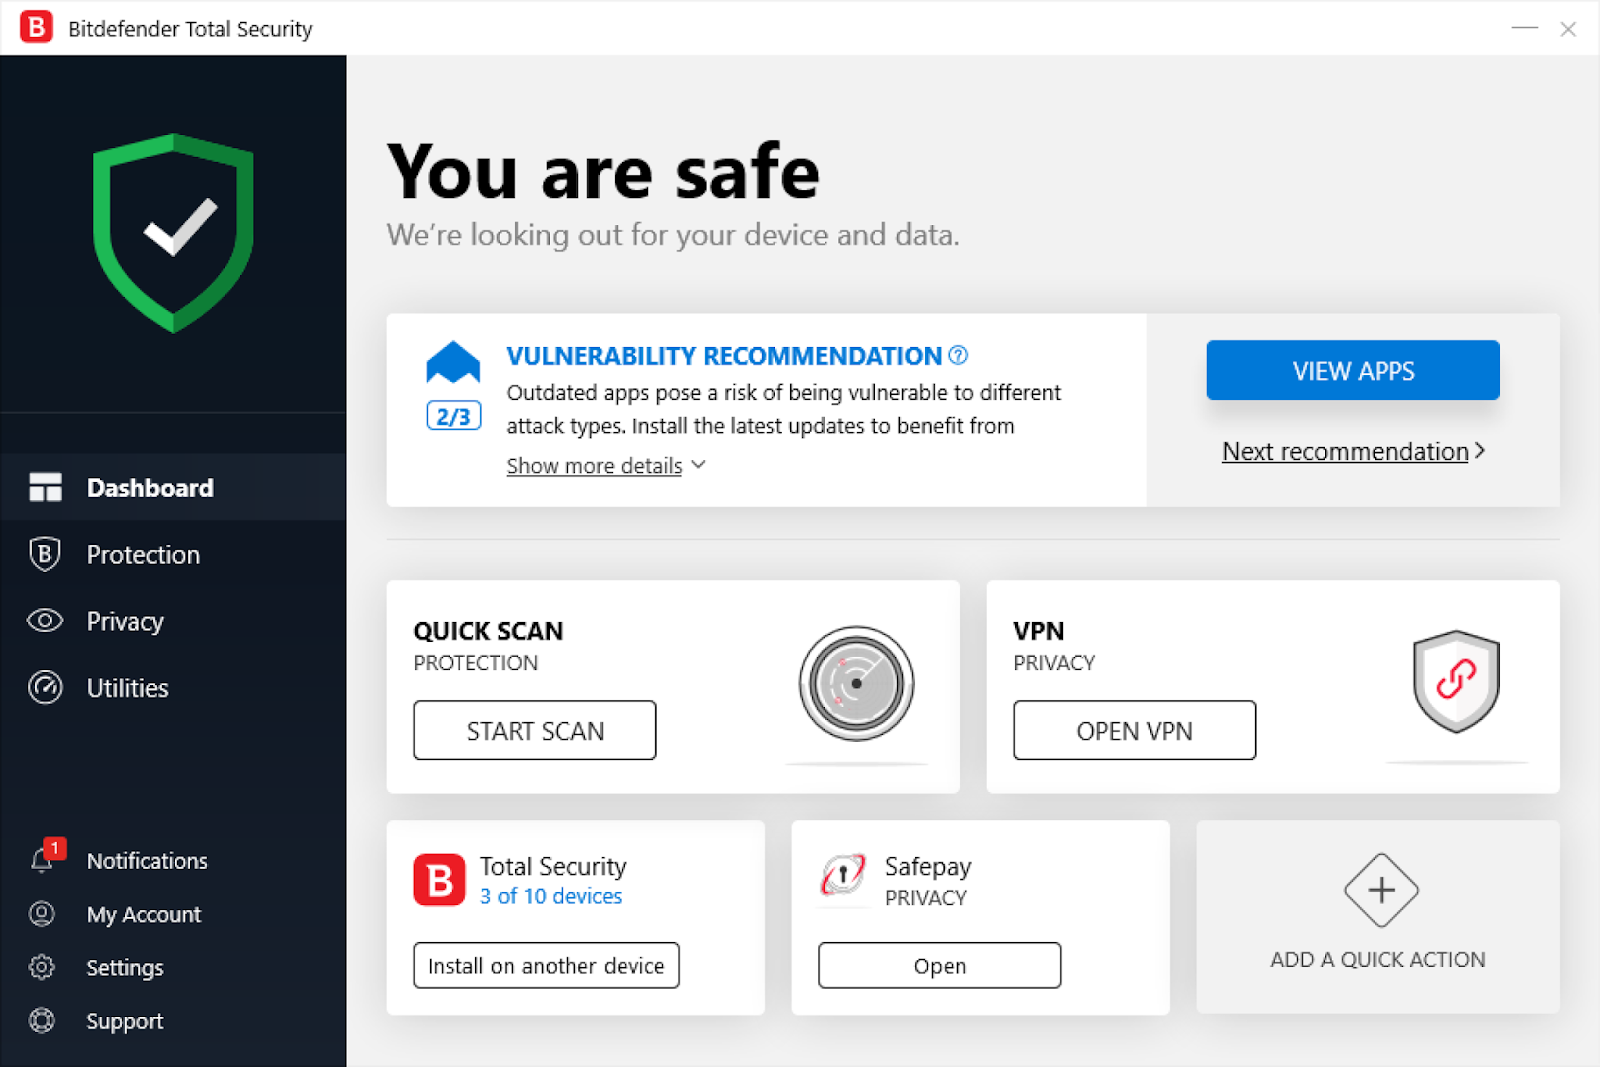
So today we are here to talk about there premium product which is Bitdefender Total Security 2020 that covers pretty much everything. It contains Antivirus, parental control, premium VPN service that could take you to a different internet zone (you know what I mean) so now total security from Bitdefender is a premium product and it costs good amount to have it protecting you from all those malwares and other things. But we have a crazy offer for you that will provide you Bitdefender Total Security suite free for straight 3 months with genuine license or serial key.
Now Bitdefender tries to showcase there products by providing these sort of offers. Earlier I have posted Internet Security 2015 that has not been updated and still we are not having any 2020 version of it being provided as free but I guess we will soon have that too and I will update that post also.
So now you all know well about Bitdefender and there is no use to showcase its features and all and how it performs because its one of the best security solutions available in the market, so lets get straight onto the steps on how you can claim this free 3 months promotional offer from Bitdefender and install its Total Security suite 2020 on your system for free.
Download Total Security 2020 Free Windows
Steps involved in claiming your free Total Security 2020 license from Bitdefender is pretty simple, you just need to follow all the steps carefully.
- Visit Bitdefender Total Security Promo Page.
- Now on the right you will see the email field, you need to enter your email and clear the Captcha and press the “GET 90 DAYS FREE” green button.

- After that it will ask you to create your free account on Bitdefender, if you do not have one create it or else you can simply Sign In.
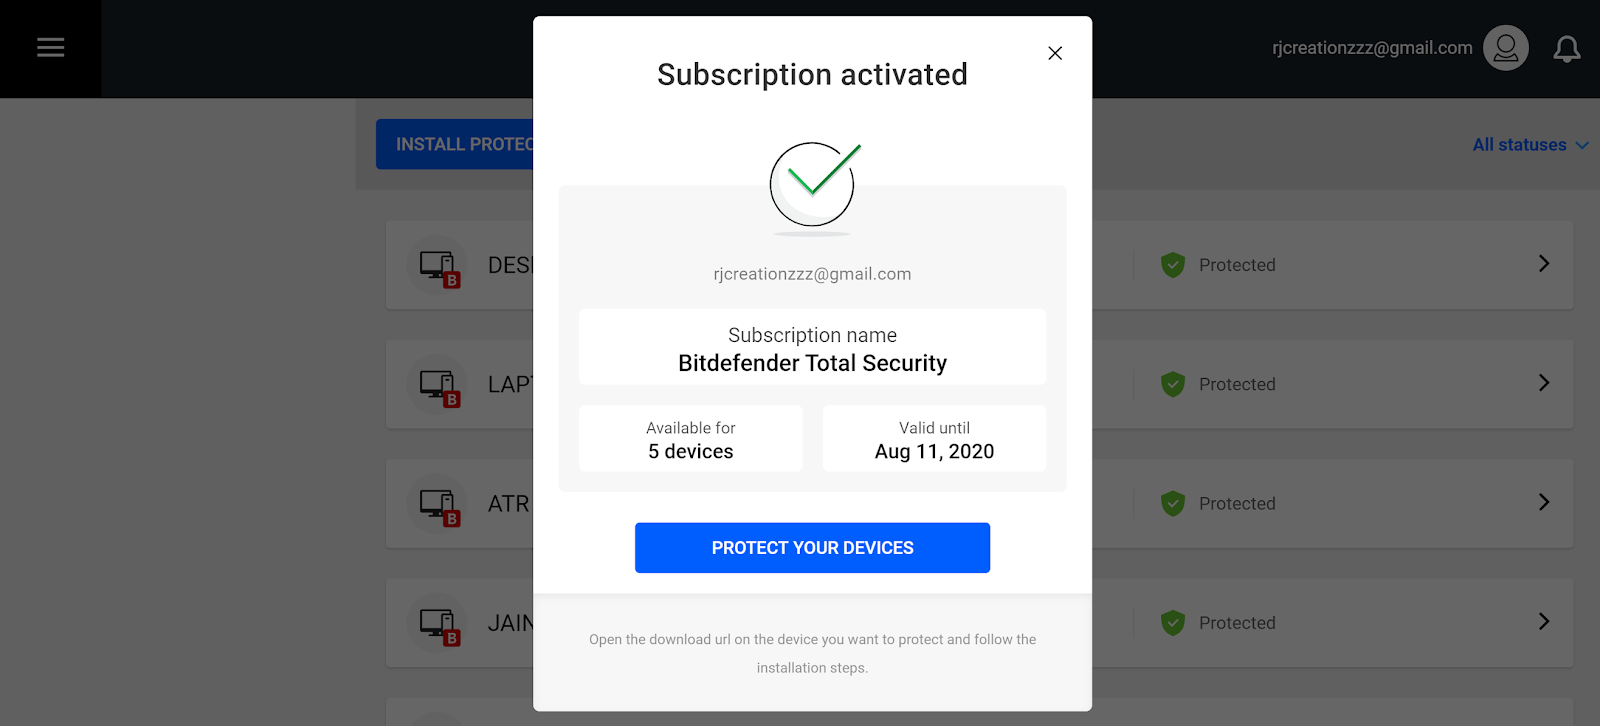
- After you are Signed In, you will see your product has been activated and you will be prompted to download the file for installing it onto your system.
- If you are already using the Bitdefender Total Security 2020 as trial then you can Navigate to My Account Tab and Activate it from there.
- You can check your Bitdefender Subscriptions from their Subscriptions Page and see all those products running under your email address.
- Now all those products that are covered under Total Security 2020 will be available to you for 90 days free license.
Installing Bitdefender Total Security 2020 Free on MAC
Well the good part is that this same offer is available for MAC operating system, so if you have MAC you can install Bitdefender Total Security 2020 right away on that too and activate your license. So guys I hope this article was helpful to you in protecting your devices with Bitdefender Total Security 2020.